Ethernet-over-USB
Specifically to PiKVM V2+. When combined with configuring a DNS server, FTP, or SMB (for example), this is a powerful way to extend the capabilities of PiKVM.
Basic configuration
USB limitations
Each emulated USB device consumes a limited hardware resource called endpoints.
Short info: by default, you can add only one additional USB device.
To get more information about the endpoints, add more devices, and flexibly manage the configuration on the fly, see here.
Info
Before exploring this page, we recommend to read the PiKVM configuration guide so that you understand the terminology and how exactly the parameters described below change.
-
Edit
/etc/kvmd/override.yamland add these lines:otg: devices: ethernet: enabled: true driver: ecm host_mac: 48:6f:73:74:50:43 kvm_mac: 42:61:64:55:53:42The
enable: trueoption was used for activation the USB network. The values of the remaining options are described in the tables.Parameter Default Description host_mac<random>The MAC address of the host's network interface. kvm_mac<random>The MAC address of the network interface on the PiKVM side called usb0.driverecmProtocol driver of the USB network. Different drivers are required for different OS. See below. Driver Compatibility with Operating Systems ecmLinux; Mac OS eemLinux rndis5Windows XP...7 1; Linux > 2.6.13 rndisWindows >= 7 2; Linux > 2.6.13 ncmWindows >= 10; Linux > 2.6.37; Mac OS 1: Manual driver installation is required. Download RNDIS 5 Windows
2: Automatic driver installation since KVMD 3.53. -
To automatically configure the USB network on the host recommended using the service
kvmd-otgnet. It configures the firewall, assigns an address to the local PiKVM interfaceusb0and starts DHCP so the target host can get the IPv4 address.By default, the address
172.30.30.1/24to interfaceusb0will be assigned. One of the other addresses from the network172.30.30.0/24will be assigned to the host when it requests it via DHCP.For security reasons, all incoming connections from the host to the PiKVM side are blocked (except for ICMP and UDP port 67 which is used for DHCP). If you want to allow access from the host to the PiKVM interface, you will need to add ports 80 and 443 to the whitelist using
/etc/kvmd/override.yamlfile like this:otgnet: firewall: allow_tcp: [80, 443]Other useful firewall options are listed here:
Parameter Default Description allow_icmptrueOptional ICMP allowed to PiKVM. allow_tcp[]List of allowed TCP connections from the host to PiKVM. allow_udp[]List of allowed UDP connections from the host to PiKVM. forward_iface<none>Default gateway interface on PiKVM for network forwarding (see below). See other parameters and command hooks in
kvmd -m. -
To enable the service, use the command
systemctl enable kvmd-otgnet. -
Perform
reboot.
Routing via PiKVM
By default, kvmd-otgnet will configure network connection between PiKVM and the host only.
The target host controlled by PiKVM will not be able to reach other hosts beyond PiKVM.
If the full network access is required from the host through the USB-Ethernet feature (access all hosts PiKVM can access),
additional settings are needed in /etc/kvmd/override.yaml.
-
Add network interface to forward requests to (default gateway) by adding a line
forward_iface: <interface name>under thefirewallsection. Typically it would beeth0if the built-in ethernet port is used::otgnet: firewall: forward_iface: eth0 -
Add DNS server to provide host name resolution service. For example, adding
8.8.8.8as DNS server requires addition ofdnsmasqdhcp options. This can be done by adding following lines:otgnet: commands: post_start_cmd_append: - "--dhcp-option=6,8.8.8.8" -
Combining above two together::
otgnet: firewall: forward_iface: eth0 commands: post_start_cmd_append: - "--dhcp-option=6,8.8.8.8" -
To enable internet access for the target host, add the following to the otgnet configuration::
otgnet: iface: net: 10.65.0.0/28The 'net' parameter defines the network address range of the
usb0network. The host will automatically receive an IP address within this network including the DNS servers defined under 'post_start_cmd_append'. Note: This network should not be same as the network PiKVM is connected to.See other parameters and command hooks in
kvmd -m. -
Don't forget to
reboot.
An example of what the config would look like for a host that can access PiKVM and has internet access:
otgnet:
    firewall:
        allow_tcp: [80, 443]
forward_iface: wlan0
commands:
post_start_cmd_append:
- "--dhcp-option=6,1.1.1.1,1.0.0.1"
iface:
ip_cmd:
- /usr/bin/ip
net: 10.65.0.0/28
Working with Windows Computers
This has been proven to work with Windows:
-
Set the driver type to rndis (see above).
-
Download this driver on the Windows machine and unzip it somewhere.
-
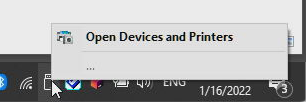
Open the devices manager:
-
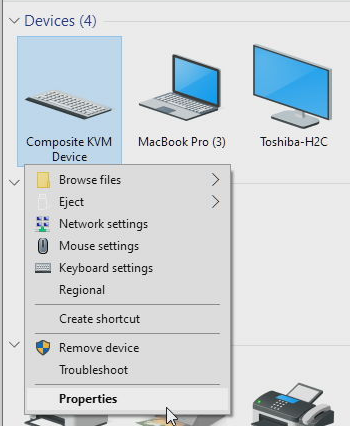
Select Properties of the Composite KVM Device:
-
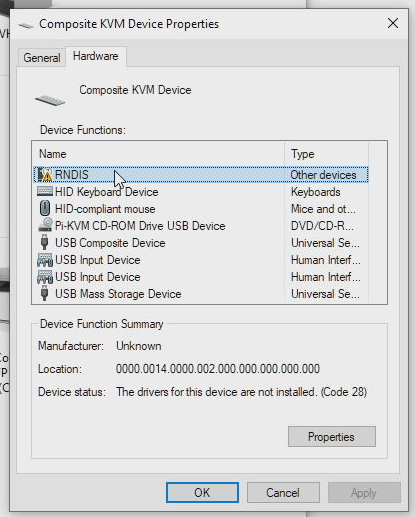
Select the RNDIS Device and click properties:
-
Switch to the Driver tab and then click Update driver.
-
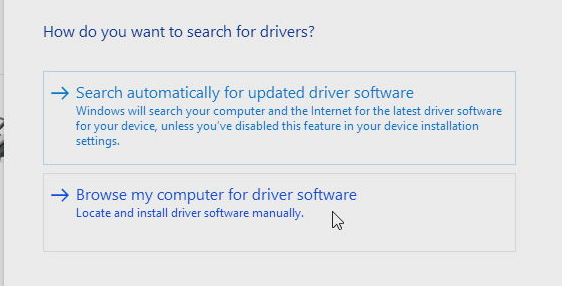
Click Browse my computer for driver software:
-
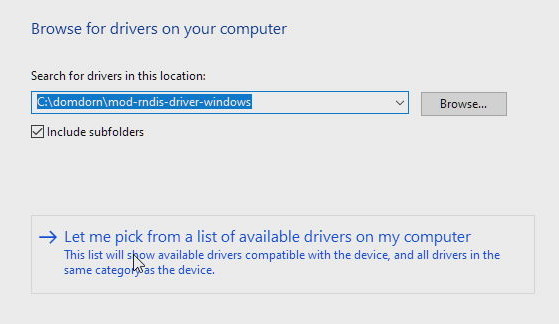
Click Let me pick from a list of available drivers on my Computer:
-
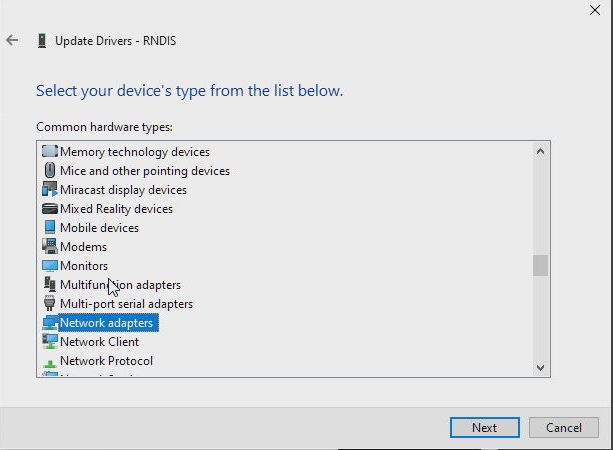
From the list of available hardware types, scroll down and select Network adapters, then click Next:
-
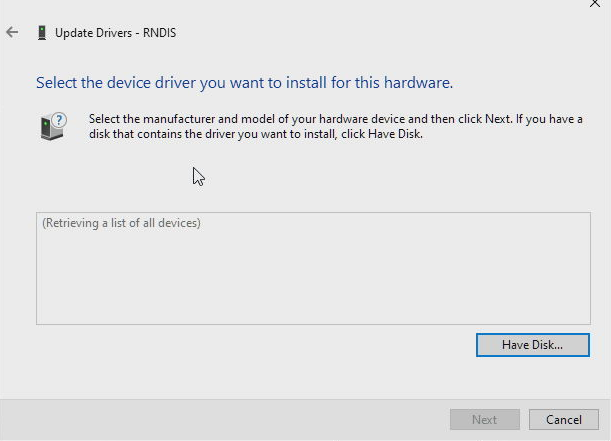
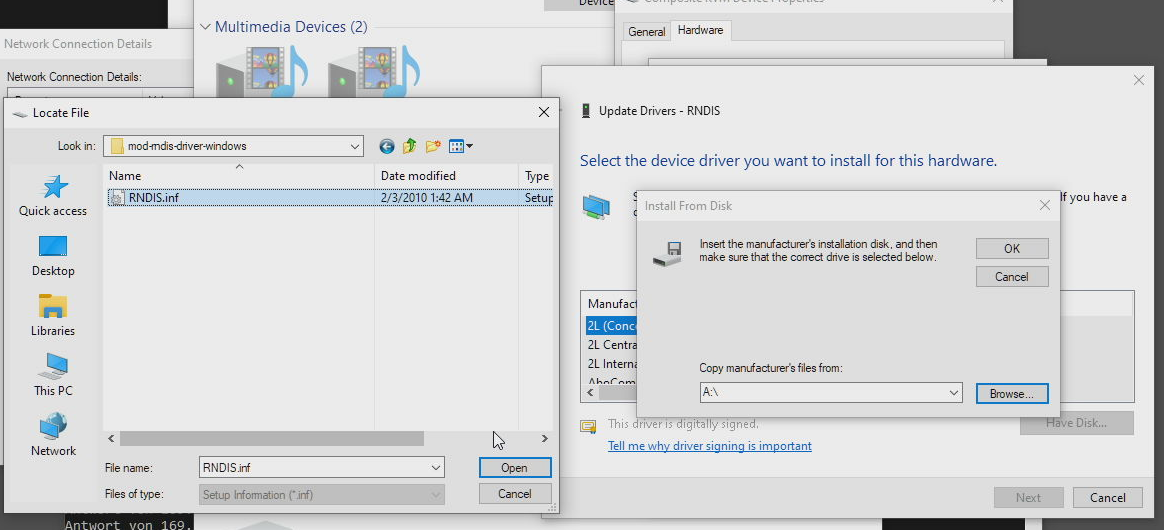
Click Have disk:
-
Click Browse, navigate to the folder where you've stored the driver and select the RNDIS.inf, press Open and then OK:
-
Select Acer Netchip RNDIS/Ethernet Gadget and click Next:
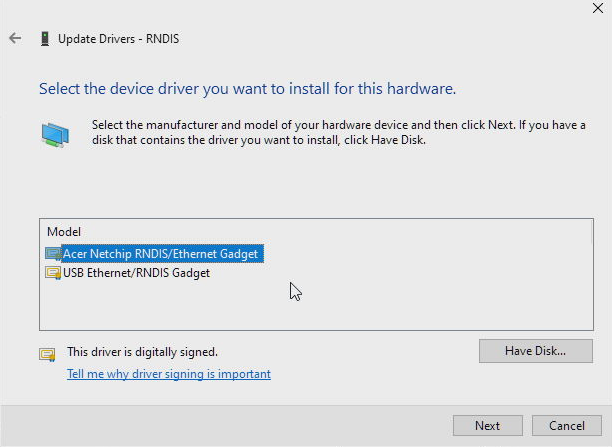
-
Dismiss the warning about non-compatible drivers by clicking Yes:

-
You're done - the device should now be recognized:
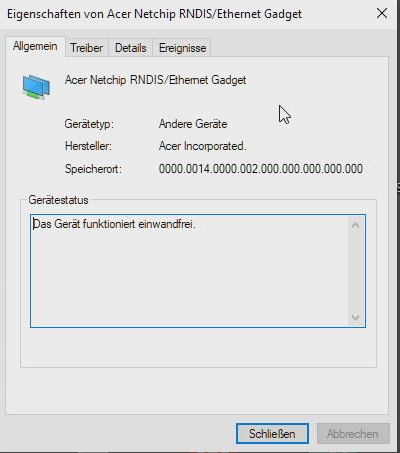
-
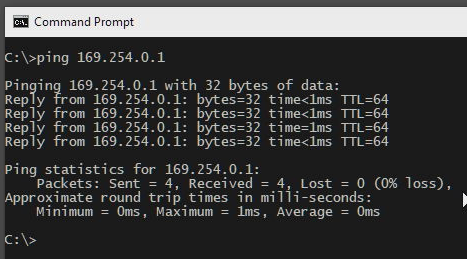
Verify the card is working by pinging your PiKVM in a console:
ping 172.30.30.1: